How to Season a Cast-Iron Skillet
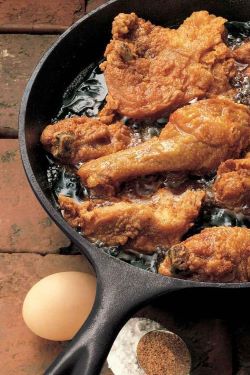
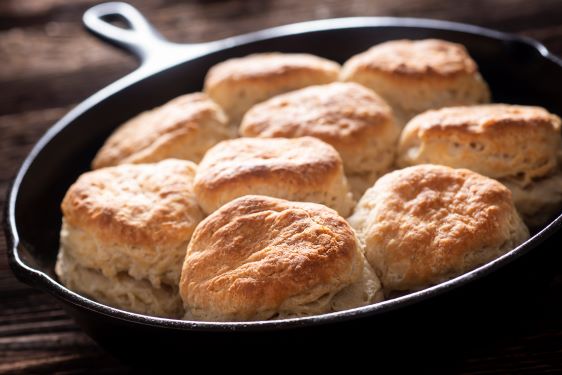
If you want to fry chicken, you use a cast-iron skillet. If you want to bake a cobbler, you use a cast-iron skillet. And if you want the most buttery, fluffiest, melt-in-your-mouth biscuit -you guessed it! You need to use a cast-iron skillet.
For such a humble cook-wear item, the cast-iron skillet can be found in almost every southern household. The matte black skillet is very easy to find, relatively inexpensive and you can cook just about anything in them. Many will tell you that the skillet is more than just a merely cooking utensil.
They are hefty from the metal they are cast from, but also from the past memories from the generations before us who passed down the skillet. From this inheritance, we learn something that we might not have realized before... like us, cast-iron skillets might be vigorous, but they manifest with the proper care. They get better with time and seasoning.
Seasoning, in this case, has nothing to do with salt or spices. Instead, it describes a hard, protective coating that is formed by heating incredibly thin layers of fat on the cast iron. As the fat is heated, it bonds to the metal and to itself in a process called polymerization. After enough layers of seasoning have been applied, what you end up with is not a greasy coating but a hard, blackened skin that protects the metal.
Step 1: Wash and Dry Your Skillet
Give the skillet a good scrub using a soft sponge with warm, soapy water, and then dry it thoroughly. Even after towel drying, some surface moisture may remain, so your best bet is to put the skillet on a stovetop flame for a minute or two to drive off any lingering water. Go ahead and preheat your oven to 450 degrees.
Step 2: Oiling It Up
Now that your skillet is clean and dry, rub it all over, inside and out even the handle—with vegetable, canola, or corn oil.
Step 3: Things Start To Get Heated
Put the oiled skillet upside down –where the bottom is facing up in your preheated 450°F oven, and leave it there for 30 minutes. You also might want to put a baking sheet underneath the skillet on the rack below in case any access oil drips off. It may get a little smoky, so keep your kitchen well-ventilated.
Step 4: Step and Repeat
When the half hour is up, take the skillet out. (Remember: It is hot!) Now rub it once more all over with the oil, buffing it out as before. Then put it back in the oven for another 30 minutes. Overall, you will want to do this oiling-and-heating process three to four times, to set down a good initial layer of your own seasoning.
Step 5: Get To Cooking!
Once you are done, just let the skillet cool down. It is now ready for cooking. What will you cook first?